If you have some existing code files and want to club them in a single project/solution, adding those one by one to a project is time consuming. Do you know that Visual Studio provides you a wizard for doing this activity?
In this part of my Visual Studio Productivity Tips series, we will learn how to create a project and/or a solution from existing code.
Visual Studio Productivity Tips:

If you want to create a project from your existing code, follow the below mentioned steps:
- Open your Visual Studio IDE.
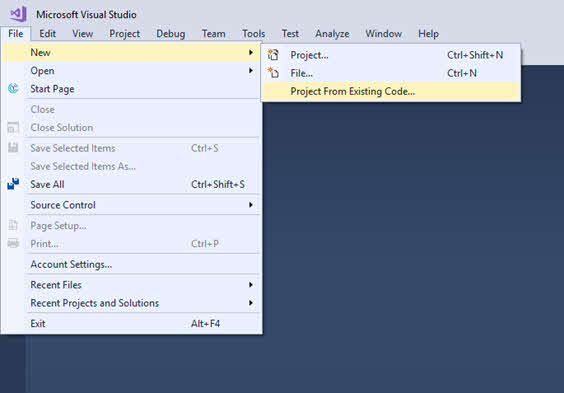
- Navigate to the Visual Studio menu: File | New | Project From Existing Code... as shown in the below screenshot:
![Navigate to the Visual Studio menu: File | New | Project From Existing Code... Navigate to the Visual Studio menu: File | New | Project From Existing Code...]()
- This will open the Create New Project from Existing Code Files wizard dialog on the screen.
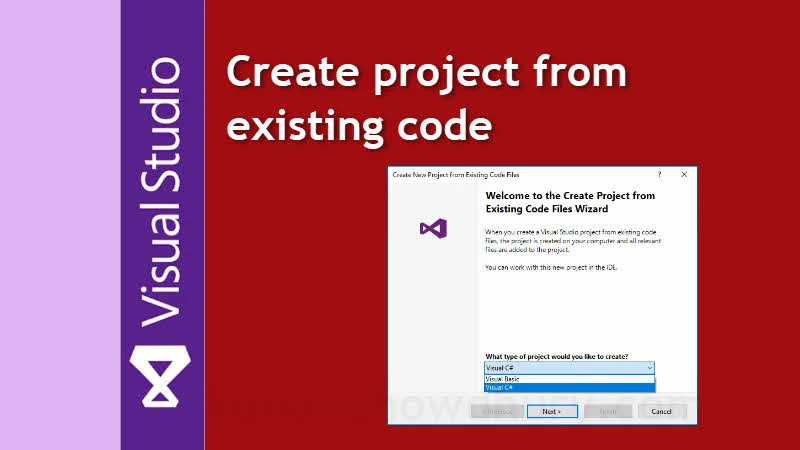
- As shown below, select the type of project (Visual Basic or Visual C#) that you would like to create, and then click Next > button to continue.
![Select the type of project (Visual Basic or Visual C#) that you would like to create, and then click 'Next' button to continue Select the type of project (Visual Basic or Visual C#) that you would like to create, and then click 'Next' button to continue]()
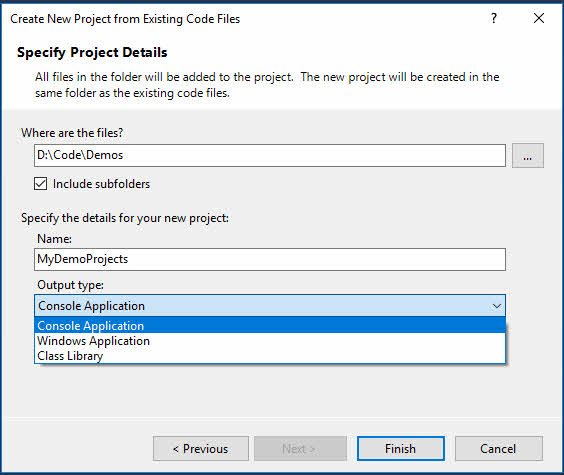
- In the next screen, select the location of your code files and specify the details about your project. This includes name of the project and the output type (Console Application, Windows Application or Class Library). Here's a screenshot for your reference:
![In the next screen, select the location of your code files and specify the details about your project. In the next screen, select the location of your code files and specify the details about your project.]()
- Once done, click the Finish button.
That's all! Visual Studio will now create the project, add the nested files and folders in the project. Once done, you will be able to see the project and all its associated files in the Visual Studio Solution Explorer.
I hope that the post was helpful. If you didn't try this yet, check out the quick steps. Its really very easy to create a new project from existing code.


