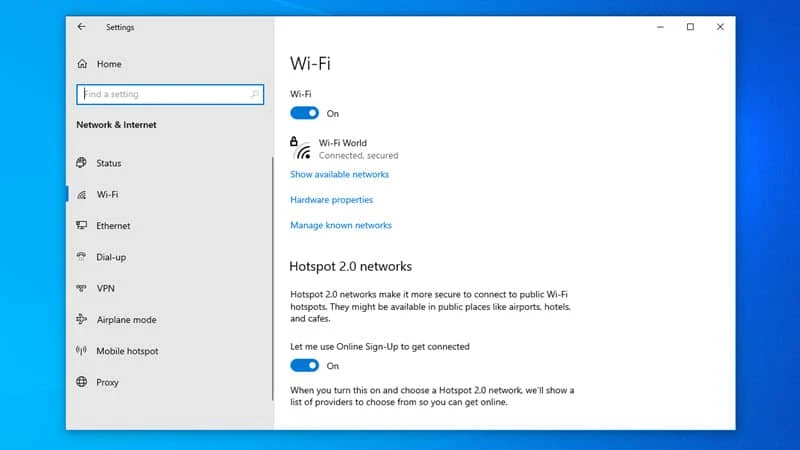
Windows 10 by default sets unrestricted data access to download updates, synchronize settings and connect to cloud services. If you have a limited data plan to connect to a WiFi network, these will definitely going to eat all your bandwidths.
If you are using Windows 10 Creators Update and above, you can set your WiFi connection as metered network to save those extra bandwidth. Continue reading to learn more.

- If you are on Windows 10 Creators Update and above, you can set your WiFi connection as metered.
- If you have limited data plan, setting it will help save extra data on your Windows 10 PC.
- When enabled as metered, Windows 10 won't download updates, sync app settings and connect to cloud services automatically.
If you are having a limited data plan and connecting to internet using Ethernet adapter, you can set it as metered connection to save those extra data used by Windows 10 to download updates, sync applications settings and connect to cloud services. This is often useful when you are tethering your mobile data via USB port.
Similarly, if you are using a WiFi connection that has a limited data plan or incur charges for usages, you can also mark it as 'Metered' on Windows 10.
How to setup a Metered WiFi Connection in Windows 10?
Follow the below mentioned steps to set an WiFi network as metered connection on Windows 10:
- Open the Windows 10 Settings application (Win + I).
- Navigate to Network & Internet | Wi-Fi settings page.
- Select the WiFi network connection that you want to select as metered connection.
- Scroll down to Metered Connection and toggle on the Set as metered connection switch.
You can also check the following video to learn the step-by-step process to set an WiFi network as metered connection. Don't forget to subscribe to my new YouTube channel to learn more tips about Windows 10.


