How to enable or disable a camera in Windows 10
The latest Windows 10 build 21354 adds a new Camera Settings page, where you can manage (enable or disable) cameras attached to your Win10 system.- Article authored by Kunal Chowdhury on .
The latest Windows 10 build 21354 adds a new Camera Settings page, where you can manage (enable or disable) cameras attached to your Win10 system.- Article authored by Kunal Chowdhury on .
Recently Microsoft released a new Windows 10 Preview Build 21354 to the Windows Insiders in the Dev Channel. This build comes with some improvements to the "News and Interests" feature, the ability to turn off the Content Adaptive Brightness Control (CABC), a new Camera Settings page, and some more improvements to Windows 10.
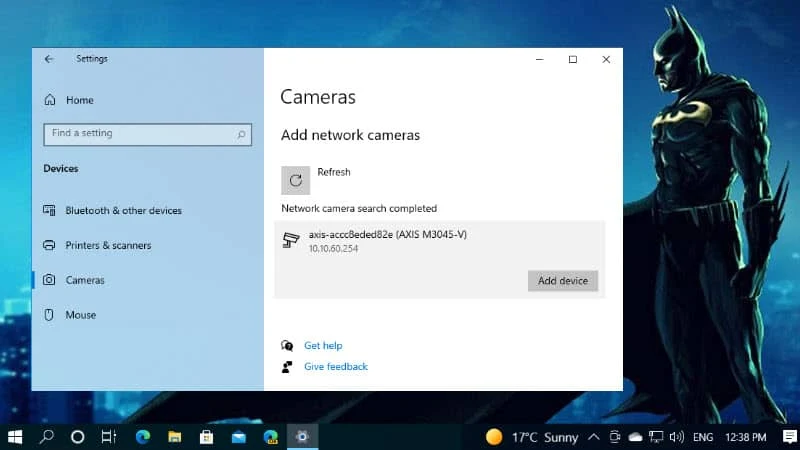
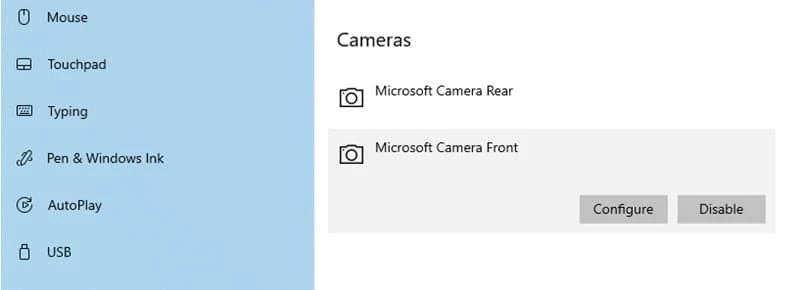
With the new camera settings page, you can easily add/remove, enable/disable a camera. It also allows you to set the brightness and contrast of the camera. In this quick post, we will learn how to enable or disable a camera on Windows 10.

There are a couple of ways you can enable or disable a camera on Windows 10. One of them is from the Device Manager. But, if you are running Windows 10 Build 21354 or higher, you can easily do it from the Windows 10 Settings app. Follow the steps as mentioned below:

Thank you for visiting our website!
We value your engagement and would love to hear your thoughts. Don't forget to leave a comment below to share your feedback, opinions, or questions.
We believe in fostering an interactive and inclusive community, and your comments play a crucial role in creating that environment.