If you are using BitBucket Git repositories for hosting and managing your code, Visual Studio 2015, Visual Studio 2017, and Visual Studio 2019 have the extension to easily manage your files, directly from the Team Explorer view of the IDE.
In this post, we are going to get you started with the extension and see the main features that the extension supports.

Visual Studio Bitbucket Extension, which is available on Visual Studio Marketplace, is a plugin for Visual Studio to help you improve your productivity while working on Bitbucket as your Git repository. Currently, it supports Visual Studio 2015, Visual Studio 2017, and Visual Studio 2019.
This extension supports the following core features:
- Create - You can create a git repository on Bitbucket.org and synchronize it with your local version.
- Clone - This will list all existing Bitbucket repositories and allows you to clone them locally.
- Publish - You can publish your local-only repositories to the Bitbucket server.
- Pull Requests - You can view all pull requests, create a new one, Approve/Disapprove pull requests, view files, commit changes and submit comments from the pull requests. You can also view Pull Request diff with syntax language highlighting.
Before starting with it, you need to know that the extension is not available by default in Visual Studio installation. You need to download it from the Visual Studio Marketplace. To download it:
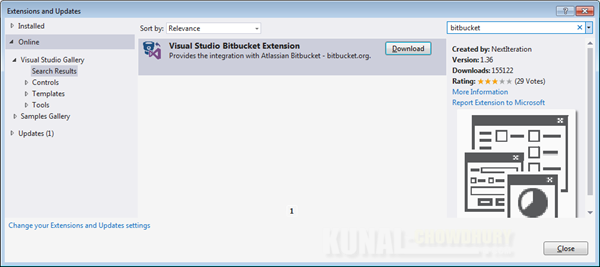
- Select the 'Visual Studio Bitbucket Extension'and click 'Download'.
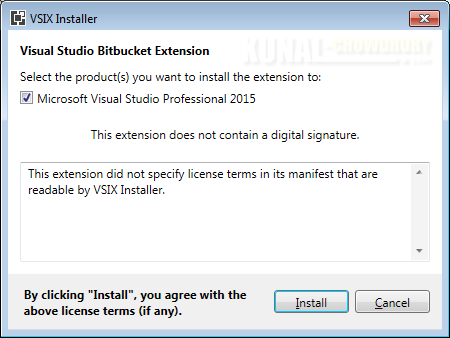
- The following dialog window will pop up. Select the product(s) that you want to install the extension to, and then click 'Install'.
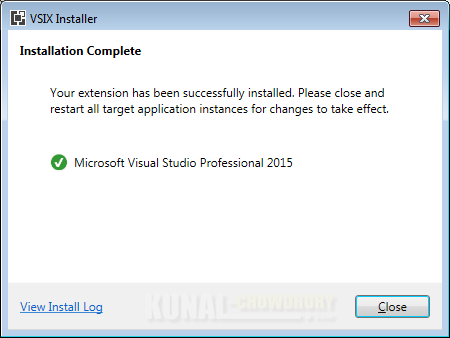
- Once the installation completes successfully, close and restart all your open Visual Studio instances, for the changes to take effect.
- Once you reopen Visual Studio, switch on to 'Team Explorer' where you can see the extension added to it already.
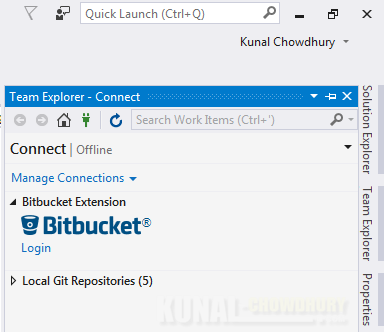
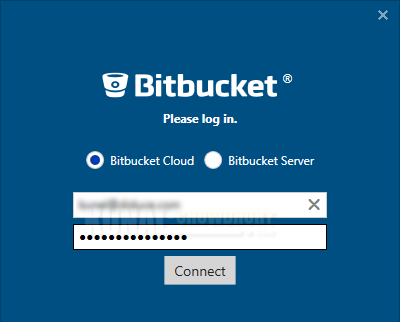
- Click on the 'Login' link to connect to the Bitbucket server from Visual Studio Team Explorer. Then you will be allowed to perform the Git operations to your Bitbucket repositories, directly from Visual Studio.
Was the post helpful? Which Git server do you use in your development environment? Do let us know.


