Microsoft has updated the Storage Sense UI, which is targeted to release with Windows 10 Fall Creators Update. Along with insiders preview build 16266, it now allows you to easily delete the old version of Windows 10.
If you are a Windows Insider, and in the fast ring, you can now check this feature ahead of the general availability. Let's see it in action!
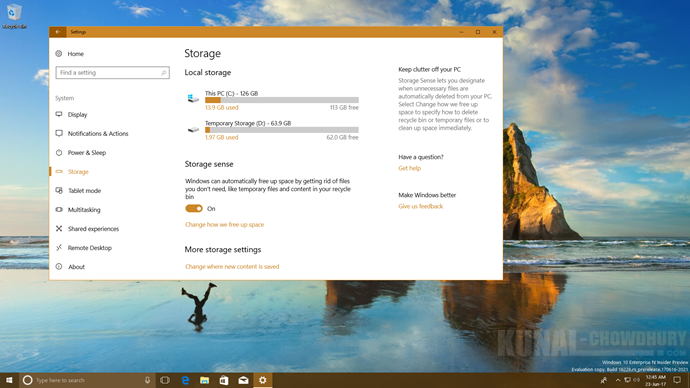
Whenever you upgrade your Windows 10 system, it keeps the backup of the previous version. The backup was made to give you a chance to rollback to the previous version, in case something goes wrong with the new build on your system. There exists a 10 days time, by which you need to rollback. After that time period, Windows automatically deletes the old backup to free up your system space.
In Windows 10 Insiders Build 16266, Microsoft updated the Storage Sense UI. The updated Storage Sense settings page has been updated to include a new option to delete your previous versions of Windows directly from it.
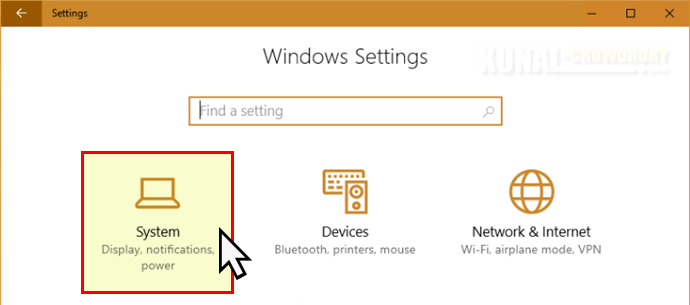
To access it, open the Window 10 Settings app and navigate to the System page:
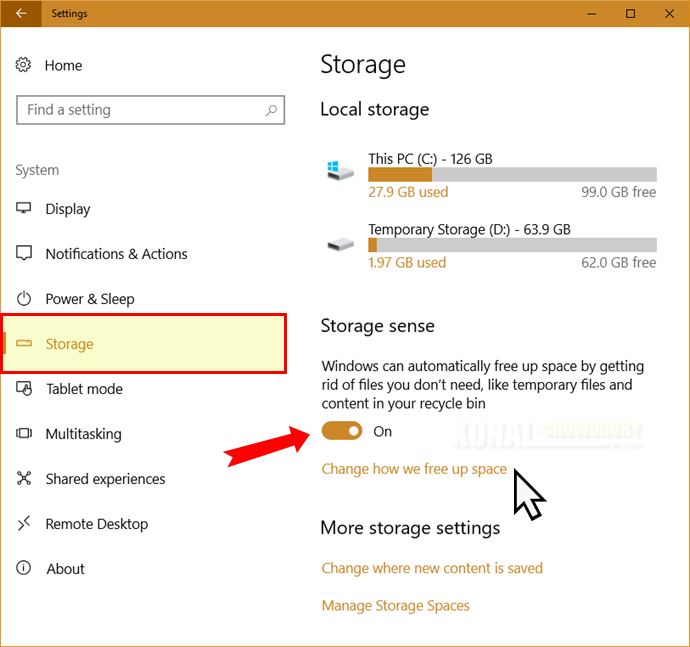
From the navigation pane, present at the left side, click on Storage to open the Storage Sense settings page. Turn ON the toggle button to enable Windows to free up space by automatically removing the files present in temporary folder and recycle bin, that you don't need.
Next, click on 'Change how we free up space' to open the advance settings page.
At the end of the page, you will now find a new panel for freeing up the old installation files of Windows 10. Check the 'Delete previous versions of Windows' to automatically delete the previous OS files after 10 days of the installation.
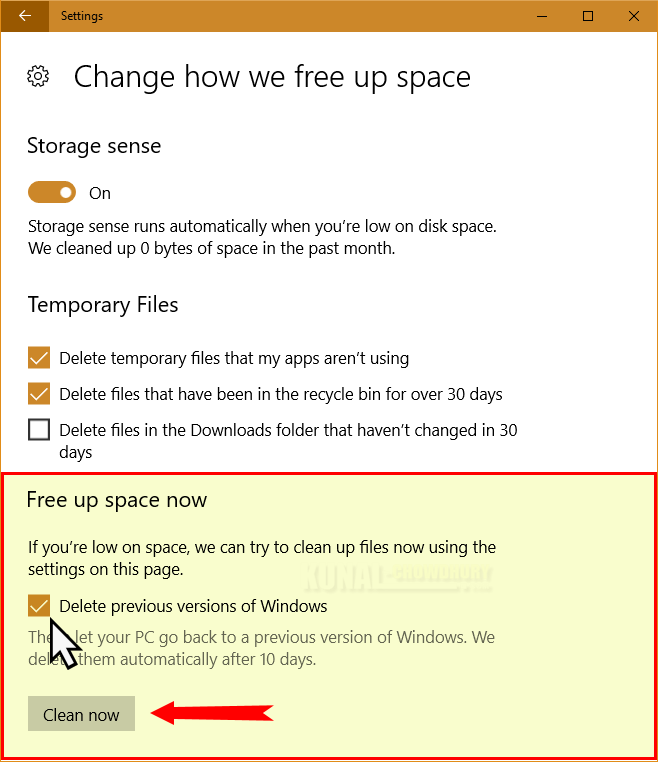
To force the system to delete the files from the old version, click the button labeled 'Clean now'. This will take some time to complete the process and at the end, the 'Windows.old' directory will be deleted from your system.
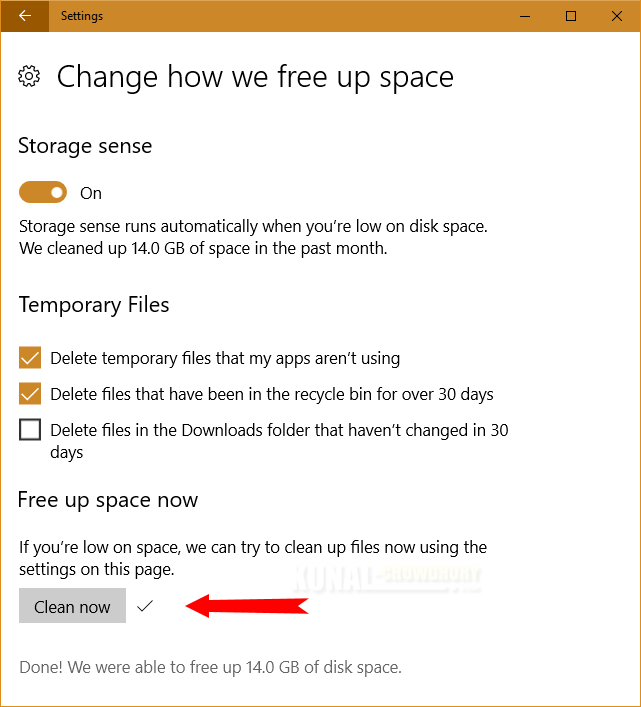
Once the cleaning process completes, you will see a check mark next to it (as shown in the above screenshot). This gives the visual indication that the job was successful.


