Along with Windows 10 Insiders Preview build 15002, Microsoft added a new feature for Windows 10 Creators Update, that will allow you to group your start screen tiles to a folder. Tile folders are a way for you to organize and personal your tiles in Start.
In this post we will see how to group the tiles to a folder and access them. Continue reading my other posts on Windows 10 Creators Update to see what’s coming next.

Grouping 2 or more tiles to a folder in Windows Start Screen is not new. It was there for a long time in Windows Phone/Mobile. Now with the Creators Update build, Microsoft is going to push the same feature in Windows 10 for PC.
To group a tile with another, drag a tile icon on top of other and drop it. This will create a folder of tile icons. You can add many icons to group into a single one. It will look similar to this, having a wider tile experience:

You can resize the tile group to small, medium, wide or large. Here’s a preview to demonstrate how it looks with a medium sized group tile:

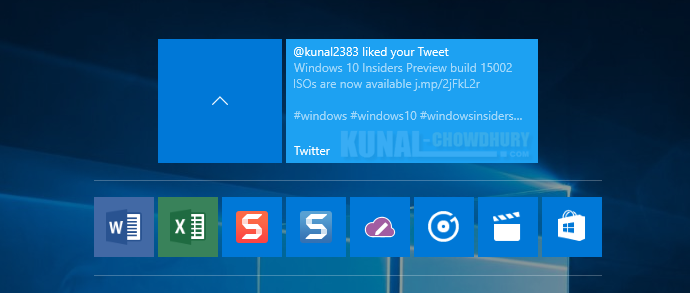
To access the icons from a group/folder, click on that group/folder to expand it and you will see a neat representation of all the icons available there (as shown in the below screenshot). Click the one that you need to access.
You may want to read:
- What’s new in Windows 10 Insider Preview Build 15002 for PC?
- What’s new in Windows 10 Insider Preview Build 15007 for PC and Mobile?

You can also customize the individual icons inside the group/folder and set them as per your need (small, medium, wide or large; considering the tile size type that it supports). Have a look below for easy reference:

It’s now going to be easy to manage your tiles to get the more details about your applications in a single page. Do follow us and stay informed on the latest and greatest coming with Windows 10 Creators Update. Till that time, stay tuned. Have a great day!


