Visual Studio LightSwitch is a new tool for building data-driven application in Visual Studio IDE. It automatically generates the User Interface for a DataSource without writing any code.

Microsoft released their first Beta of Visual Studio LightSwitch for the MSDN Subscribers. If you are a MSDN Subscriber, download it from the MSDN Subscriber Downloads Page. The expected date for the public release will be on Monday, 23rd August. Visit the Visual Studio Light Switch Blog for more information on it.
Installation Process
Before doing anything, be sure that you have the Visual Studio 2010 installed in your PC where you want to install the LightSwitch. Once you have the downloaded version of the LightSwitch setup, extract the .ISO image using WinRAR or some other ISO utilities. In the extracted folder find the file named “setup.exe”. Run it to start the installation wizard.
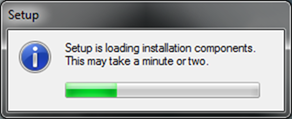
This will first load all the setup modules and soon you will see the License Agreement opened up in the screen. To proceed to next, you must have to “Accept” it.
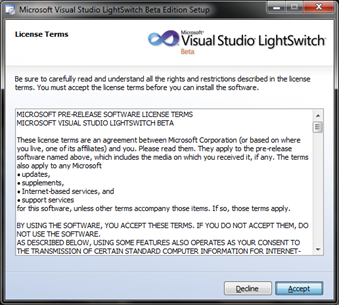
Once the installation starts, it will install 4 different components in your PC. Please wait for some time to complete the whole installation process.
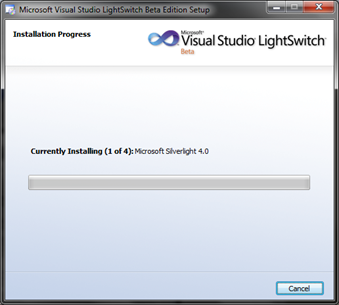
First it will start with the Silverlight 4.0 as shown in the above snapshot. Once done, it will start installing the second component “Microsoft Silverlight 4 SDK”.
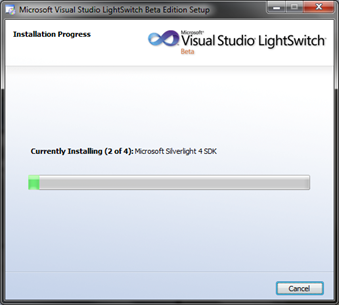
The third component is the “Visual Studio LightSwitch Beta Server” and the fourth component is the core component i.e. the Visual Studio LightSwitch Beta Edition.
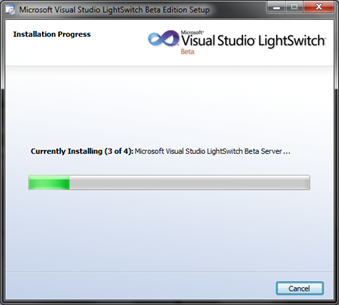
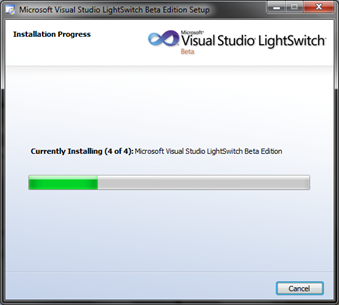
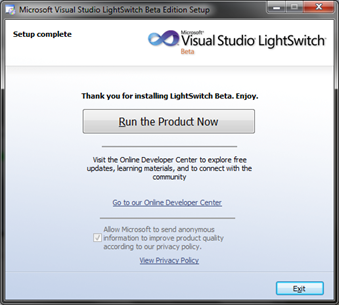
Once the installation is done it will ask you to run the program as shown in the below snapshot. Click the button called “Run the Product Now”. This will open your Visual Studio 2010 IDE on the screen.
Verifying Installation
In your Visual Studio 2010 IDE, go to File –> New –> Project or just press the key combinations (Ctrl + Shift + N) to open the New Project dialog in the screen.
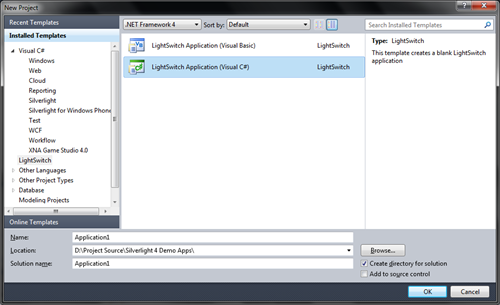
From the Left Panel find the template group named “LightSwitch”. Click on it to load all the LightSwitch project templates. Generally you will find two templates there. One is for C# development and the other is for VB.Net development.
Chose your template and click “Ok” to let Visual Studio create the project for you and you will see like following in your screen:
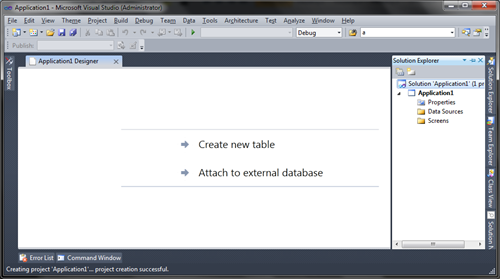
That means your installation was successful and ready for your development.


