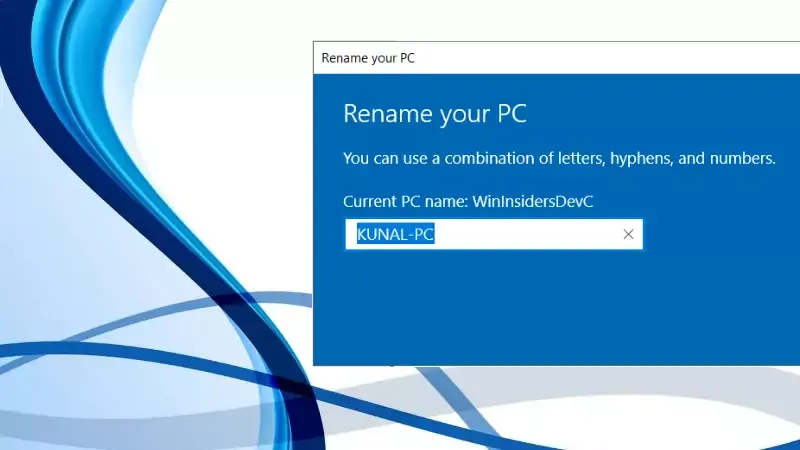
How to rename your Windows 10 PC (simple steps)?
Here we will show you how to rename your Windows 10 PC for better device management in the network.- Article authored by Kunal Chowdhury on .
Here we will show you how to rename your Windows 10 PC for better device management in the network.- Article authored by Kunal Chowdhury on .
When you install any operating system on your PC, it gives a unique name to it. This helps you to identify the system over a network when you have multiple systems connected in the same network. It also helps you to easily manage apps and security updates for individual PCs.
As the auto-generated names are obscure and hard to remember, it is difficult to identify the correct system by name. Here we will show you how to change the name of your Windows 10 system.

When you install Windows 10 on a system, it generates a random system name as per the rules set by the manufacturer. Windows 10 helps you to easily change the name of your device.
To rename your Windows 10 PC, open the Windows 10 Settings app from Start. Alternatively, you can press the WIN + I keyboard shortcut to launch the Settings app.
Now, click on the

As shown in the following screenshot, enter a new name into the "

Now click on the

Next time when you restart your system, you will find the new name applied to your system. The old name will no longer have any effect. If you already have shared any folder path from your system, make sure to notify the other users pointing to your system.
Thank you for visiting our website!
We value your engagement and would love to hear your thoughts. Don't forget to leave a comment below to share your feedback, opinions, or questions.
We believe in fostering an interactive and inclusive community, and your comments play a crucial role in creating that environment.